We tend to not pay much attention to our outdoor drains. That is until something goes wrong. Often rearing its ugly head after a downpour, a blocked drain can cause significant damage to a property if not dealt with quickly. While your first instinct may be to call a professional, there are a few things you can do to quickly clear an outside drain. Before you reach for the phone, try these DIY tips for clearing an outside drain.
DIY Guide to unblocking an outside drain
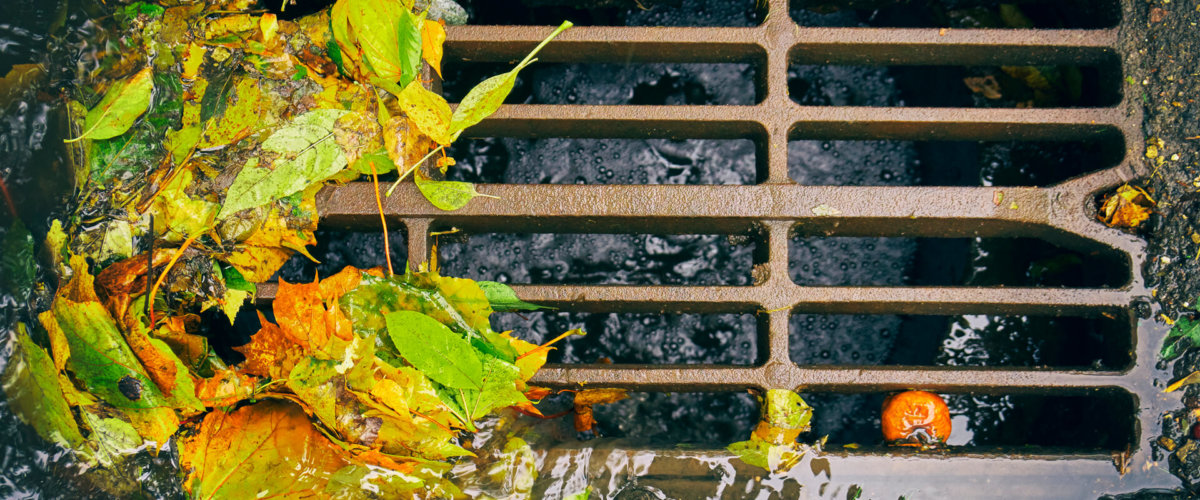
- Determining the cause of the blockage
Outside drains tend to become blocked when overwhelmed by organic material such as dirt, leaves or other debris. Excessive rainfall can also cause drains to overflow as they may struggle to cope with the sheer volume of a large downpour. Other issues can because of blockages in the plumbing system from things that shouldn’t be flushed blocking the pipes such as wet wipes or sanitary items. Once you have determined the cause of the blockage, you can then assemble the tools you need to remedy it.
- Gather your drain clearing tools
Having the right tools on hand will ensure that you can clear your outside drain before any property damage occurs. It pays to have the following items on hand for when an outdoor drain blockage occurs.
- Drain Rods
Drains rods are sturdy yet flexible rods that are screwed together end-to-end. Drain rods are an inexpensive tool that can be picked up relatively cheaply from your local hardware store. Drain rods are your best tool to find and remove a blockage.
- Gloves
Clearing an outdoor drain is a messy business. Make sure you wear a pair of protective rubber gloves before you go fishing about in your drain.
- A Bag
Keep a plastic bag nearby to store any debris that you remove from your drain. You do not want to leave this debris in your yard as it will eventually find its way back into your drain!
- Rope
Some drain covers can be very heavy. Using a rope will allow you to wrench open your drain cover more easily.
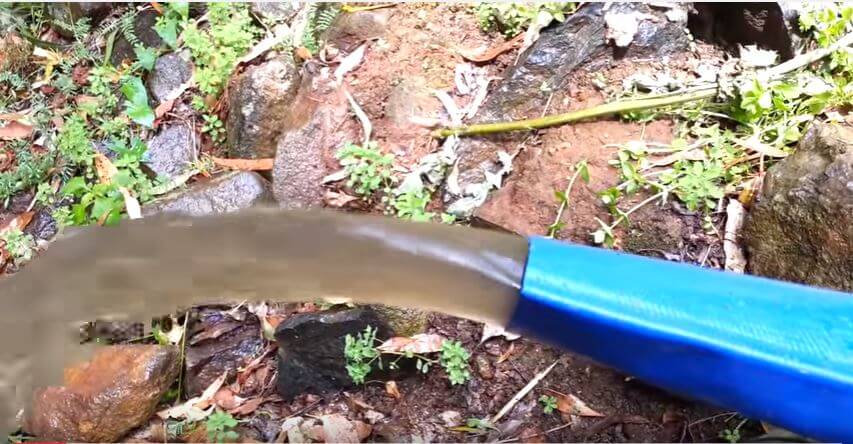
- Hose
Once you have cleared your blocked drain you will need a hose to flush the drain with clean water.
- Remove the drain cover and peek inside
All drains are different. Some drain covers can be removed easily while others require a bit more encouragement. Particularly stubborn drain covers can be removed using your rope. Simply tie it around the drain handle and give it a good pull. Once remove, glance inside the drain (a torch may be useful here). If the drain chamber is empty, the blockage will be located before the chamber. If the chamber is flooded the blockage is somewhere after the chamber.
- Using your drain rods
Wearing your protective rubber gloves, insert your drain rods into the drain, continually feeding the rods through until you encounter the blockage. Once you have encountered the clog, slowly rotate the drain rods in a clockwise direction, and push them away from you. Continue pushing the rod through the blockage to breakdown any grease or debris sitting in the drain.
- Clean up
Once you have cleared your blockage, grab your hose, and run some fresh water through your drain. This will rinse away any remaining debris and help prevent any future blockages.
Is your outside drain still blocked? You may need to call a professional.
If your blockage is substantial, or an overflowing drain is threatening to damage property, do not hesitate to call an expert. Envirovac offer an efficient emergency drain unblocking service using the latest in tools and technology. Envirovac can quickly identify and remedy blocked outside drains and help to prevent future blockages occurring. Book your outside drain unblocking here.